
Student photos can be added to the MIS for individual students from the student record page or as a bulk upload from the file received by an official school photographer. All photos uploaded to GO 4 Schools are resized to 140px wide by 180px high. To manage student photos you will need the rights to view basic student information as well as manage basic student information.
Individual student photo
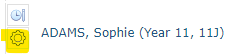
To add an individual student photo, possibly for an in-year admission student, first go to the student record page via the menu search function and from the list select the settings icon:

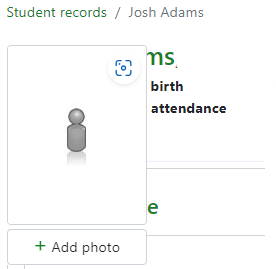
From the student record page hover your mouse over the placeholder image and this will expand with an option to + Add photo:
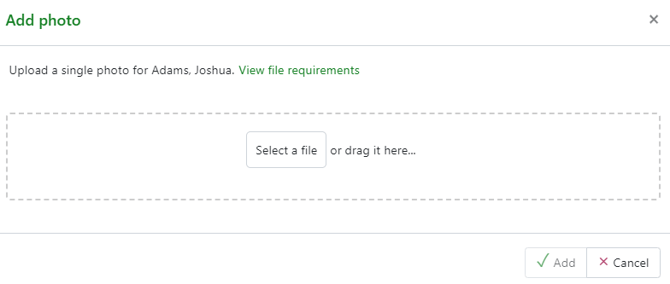
Click on +Add photo and a modal will then allow the image to be dragged across ready to upload. We allow all standard image file formats, including JPEG, PNG, bmp.
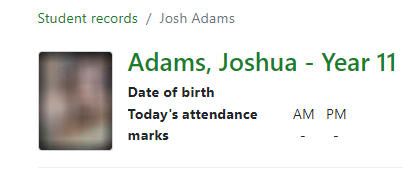
The photo will be added to the student record and display in all key areas where a student photo is visible for staff.
Hovering over the photo gives the option to change and update the photo or remove it.
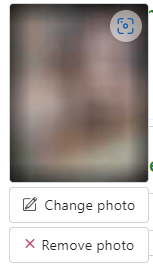
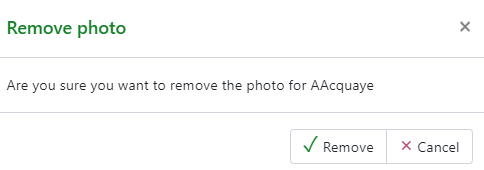
When changing the photo the same modal will open allowing you to upload a new file. When removing a photo you are prompted for confirmation.
Bulk uploading student photographs
This is the best way of uploading photographs from school photography sessions for whole cohorts of students such as your new admissions. Browse to People > Admissions > Student photo import to access the bulk student upload page. There is a maximum file size of 9.5 MB. No maximum pixel dimensions but photos will automatically be scaled to 140px wide by 180px high when uploaded.
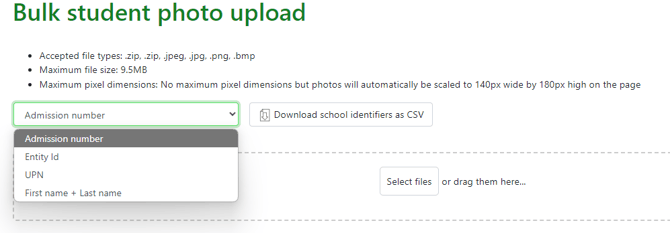
Select the identifier you wish to use to upload from the photo file, this should match the format provided to your photographer:
- Admission number
- UPN
- Entity ID
- Firstname + lastname
Once selected if you are required to provide a file for the photographer you can download this for all students in the MIS as a CSV. The download will use the format selected e.g. UPN.
Add the files to the upload and then select ‘Upload’. A matching process will review all uploaded files against the student records. If the selected file does not match the format then an error message will appear in the file selector.
The report page will show matched and unmatched files, files can be checked and changed if not correct and unmatched files assigned to a student using the student picker:
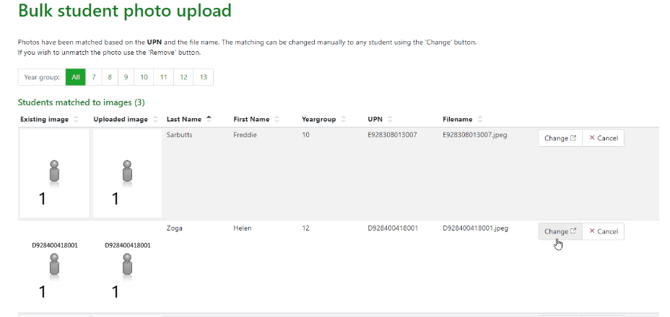
Once all matches are completed the user can confirm to add the photos to the records. A report of any unconfirmed matches is then available, this can be downloaded as a CSV.
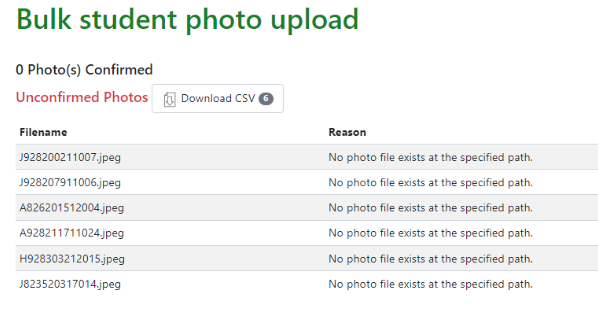
Select complete to finish the process.
Missing photographs
Browsing to People > Admissions > Missing student photos a listing page will show all students who do not have a photograph attached to their record.

This list can be filtered by year group or individual students searched for. Multiple students can be selected or the entire list downloaded. Photographs can then be uploaded for individual students or in bulk.