
For a video guide covering this information please view this video.
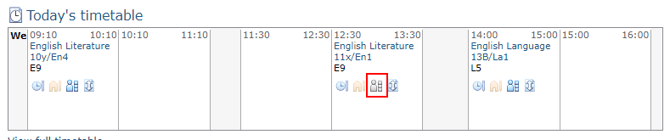
To create a new seating plan, from your timetable, you can click on the seating plan icon, then choose the option to Create a new seating plan:
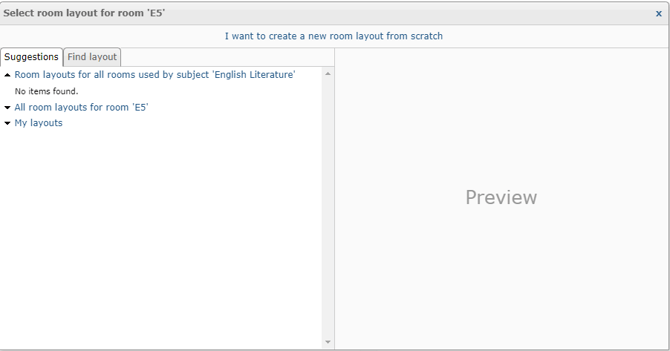
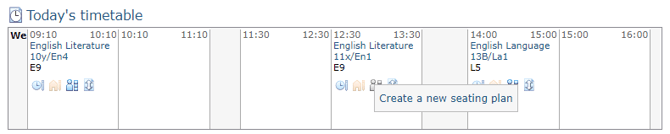 The pop up will allow you to select an existing room layout, or create a new one from scratch:
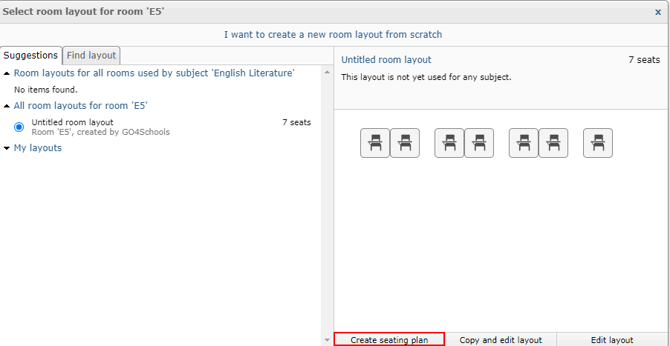
 When you have your desired room layout showing in the right pane, click Create seating plan:
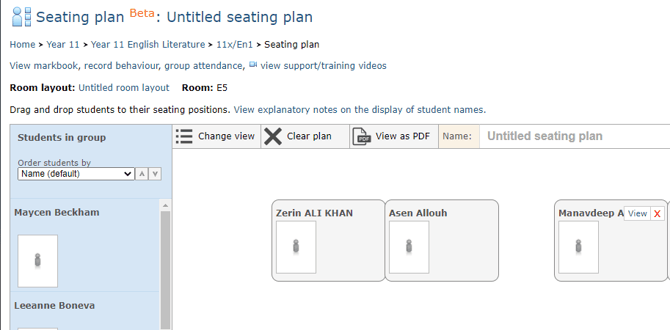
 On the seating plan allocation page, you can assign students to seats by clicking and dragging them to the desired seat. If you need to move a student, clicking on their current seat and then dragging them to a new seat will move them. To remove a student, hovering over their seat, a red X will appear allowing you to remove them, which will put them back on the left to be allocated to a new seat:
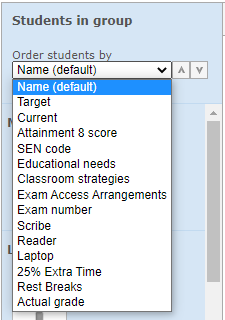
 Teachers can sort their students by key data to help them place students in the seating plan. For example, sorting by target grade will group students with similar grades together, enabling teachers to easily assign learning buddies:
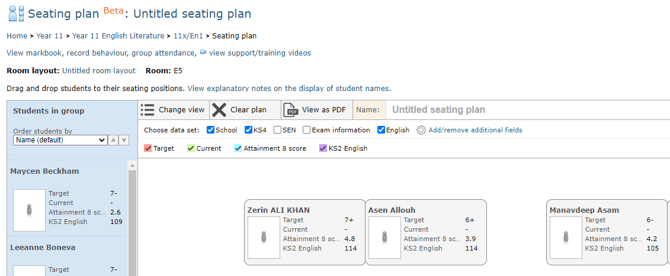
To make the best use of the functionality, you may want to see additional information about students so that you can seat them strategically. Click on the Change view icon for three ways to view data.
- Tiled - data is shown in coloured tiles with a key
- List - a coloured data list with a key
- Detailed - data shown with labels
The data shown will be pulled from the seating plan data sets. Data in the default data sets will be displayed, with others available to select if you wish.
 School managers and curriculum leaders will populate datasets, however if teachers require additional data to inform their decisions, they can use the Add/remove additional fields link to choose additional fields for one-time use:
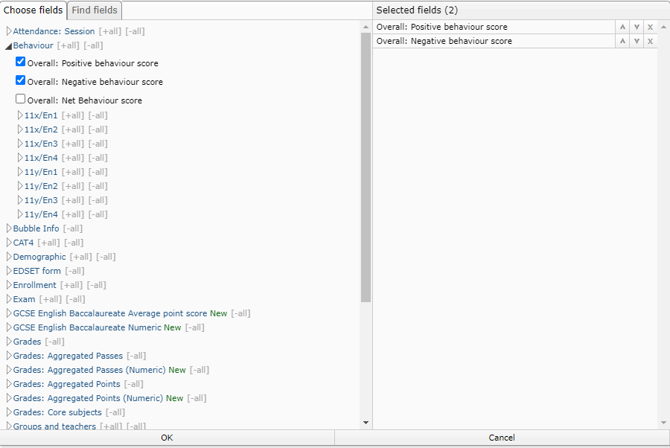 The chosen fields then show in your seating plan:
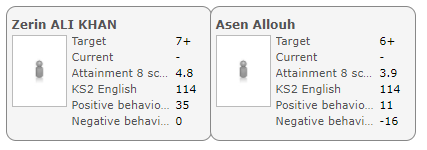
The Quick pick tick box allows you to set the seating plan as one of the seating plans when clicking on your seating plan icon for the group, if it is not ticked, you'll need to select the option to View additional seating plans from the icon to view the plan. When you are done creating your seating plan, give it a name (we recommend not including the room name, as this is shown next to each seating plan), and then click the Save button.
Group membership cannot be altered using seating plans. If a student is a member of a group they will always be available to place onto the seating plan for that group. If a student is removed from a group in your MIS, using feed rules or using the group membership tool, only then will they be completely removed from the seating plan. If a new student is added to a group by any of these methods, they will be added to the student list on the left so that you can allocate them a seat if required.