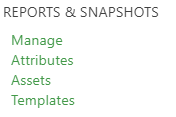
Report managers and school mangers are able to create and manage sets of reports by using the Manage link under Reports & Snapshots in the Curriculum menu:
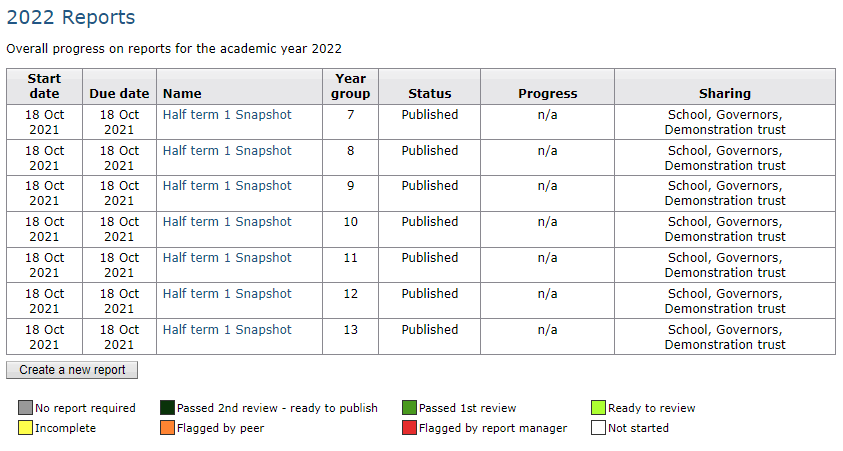
 The report list page summarises the status of previous sets of reports in the current academic year and allows you to create a new set of reports by clicking the Create a new report button.
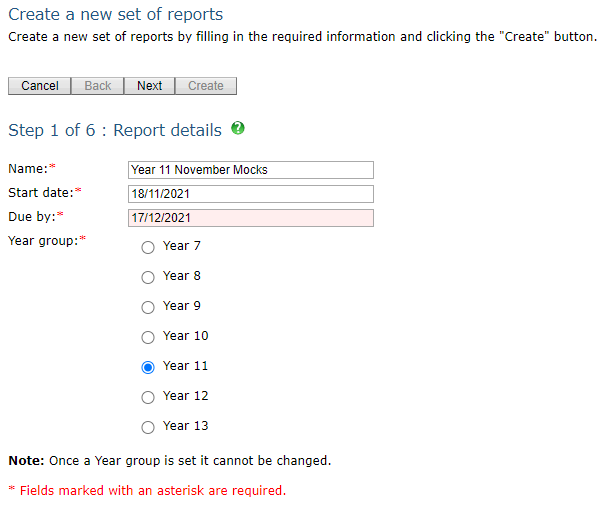
 Creating a new report opens up the report wizard which will step you through the process. The first step is to name the report, give start and due dates, and select which year group the report is for. If the start date is set in the future, the report will not be visible to staff until the start date has been reached. You can change the name and dates for a set of reports at any time before they are published, but you cannot change the year group.
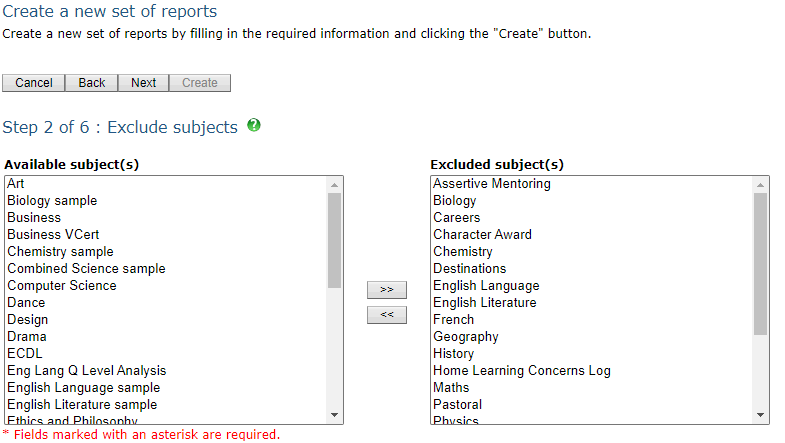
 The second step is choose any subjects that you would like excluded from the report. These can be selected using the CTRL key and your mouse, then clicking the >> button. You can change subjects excluded/included at any point before publication.
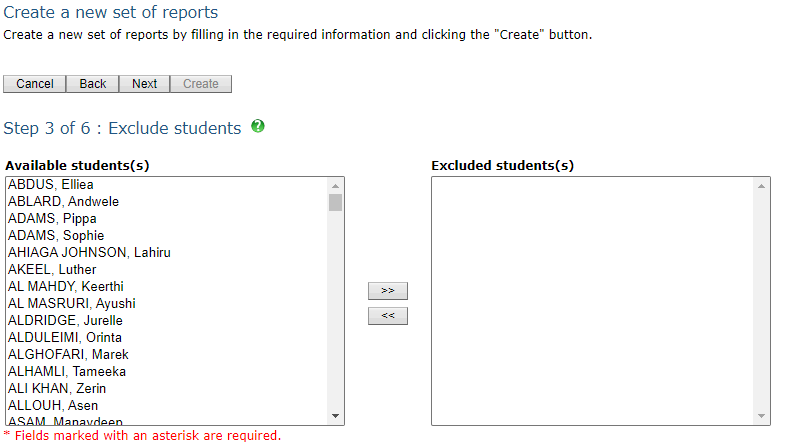
 Step three allows you to exclude students for whom reports are not required. This works exactly as excluding subjects, and can also be changed at any point before publication.
 In step four you specify what teacher input is required - comments, both free-form as well as from comment banks, and report attributes. For each attribute you want to use, tick the Use in this report box, and choose the minimum/maximum selection. If an attribute has been used, and you later decide to remove it from the report, all values currently entered will be deleted - if there are values in place there is a link on this page to download them prior to removing them.
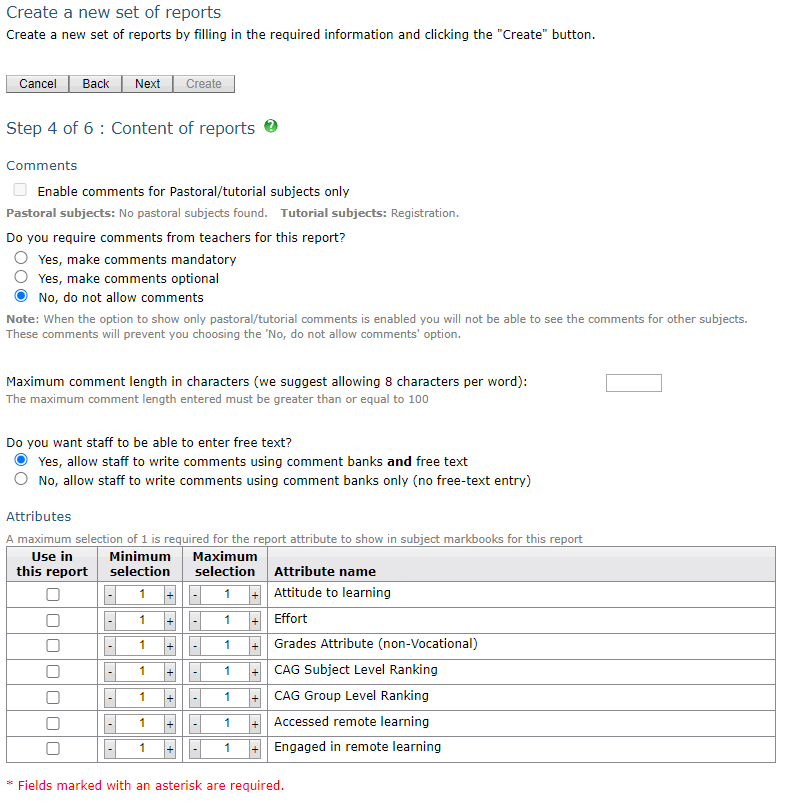 The ability to enable comments for pastoral/tutorial subjects only will allow you to create a progress report that only requires comments for those subjects. The subjects are controlled by the subjects and qualifications page. Pastoral subjects will only display a comment, while tutorial subjects allow grades/attributes, and comments, but are shown at the bottom of the report table.
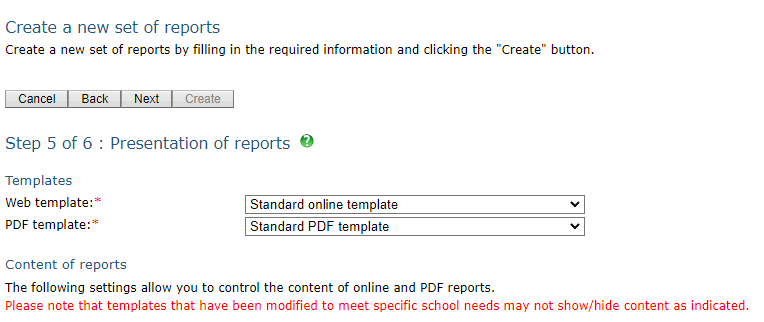
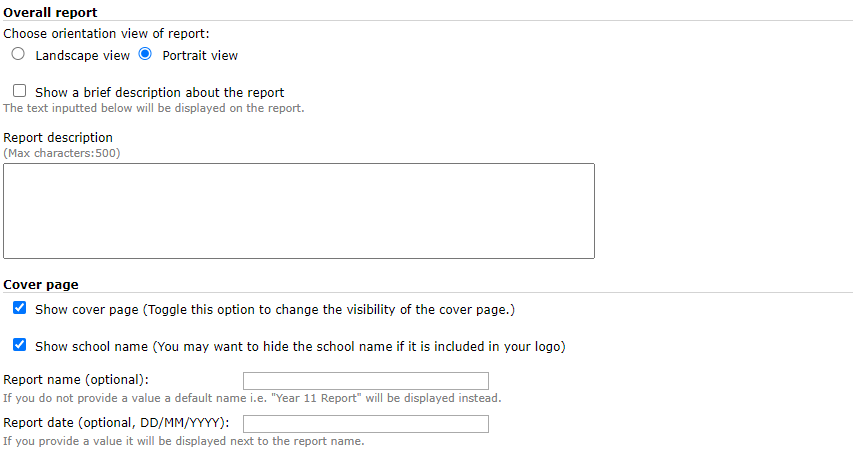
The fifth step allows you to choose the overall presentation of the reports - including using any custom templates that you may have. These settings can be changed at any time, including after a report has been published.
 The overall report settings allow you to choose the layout of the report, as well as include a report description. You can also choose to include a cover page, school name, and set a specific date for the report.
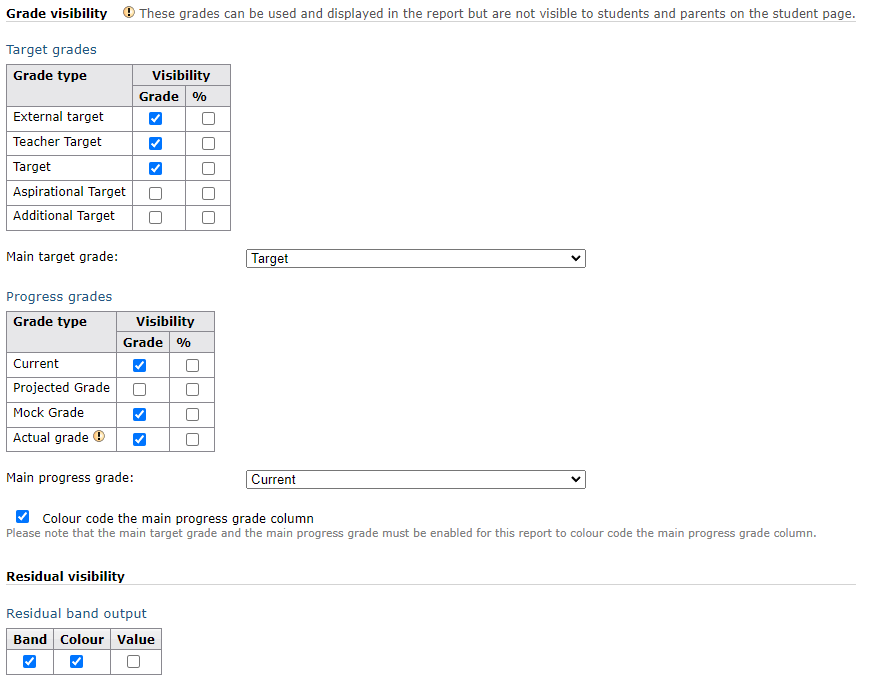
 Grade visibility allows you to choose which grades should be included in the report, and will allow you to include/display grades that are not visible to users in other areas of the site (as long as they are enabled). If you are showing residual colouring/values you can choose which target/progress grades to measure against, and whether you want the progress grade column coloured. Just below this allows you to set whether you want to include the band/colour/value of the residual value as well.
 If you use an internal grading scheme that measures progress using APS values, the next section will allow you to choose whether you measure from calculated baselines or explicitly set baselines.
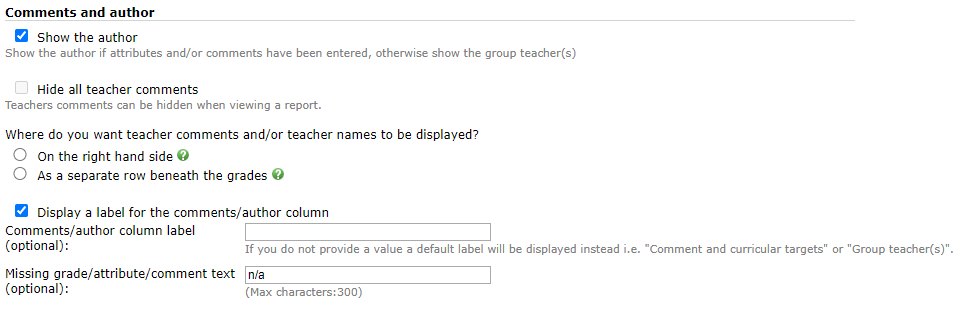
 The comments and author section allows you to display the author, as well as where the comment will be placed, assign a label, and set a custom value for any missing data (by default this is set as n/a).
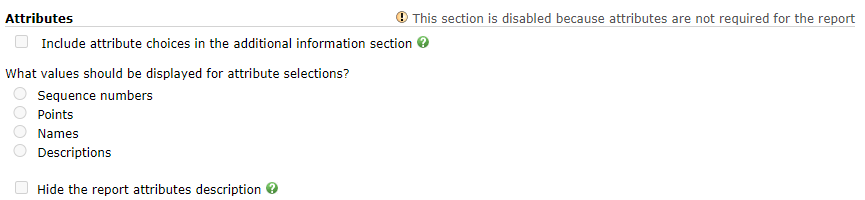
 The attributes section allows you to pick which value to display on the report, as well as hide the attribute descriptions.
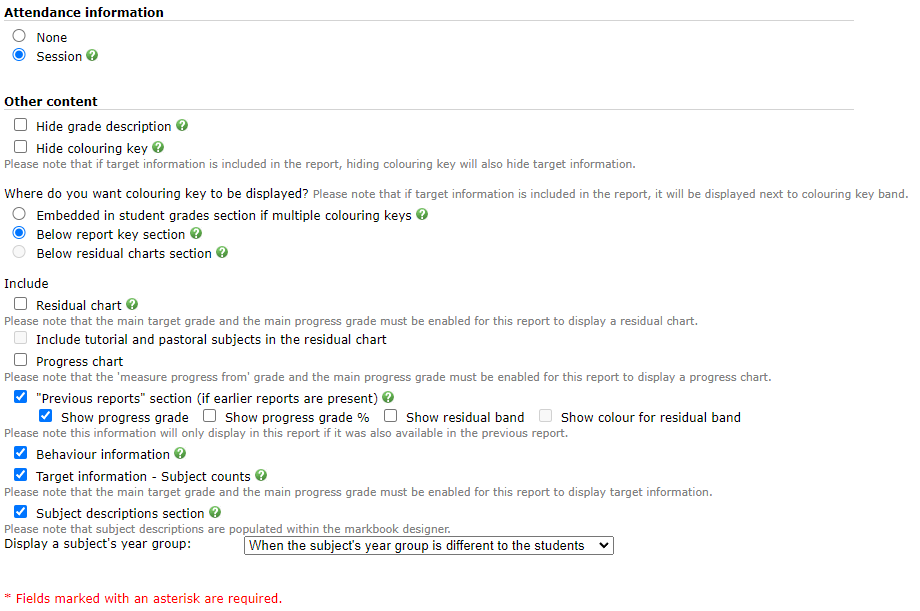
 The final two sections allow you to choose whether to include session attendance information, keys to data/colouring, residual charts, previous reports, behaviour data, and subject descriptions.
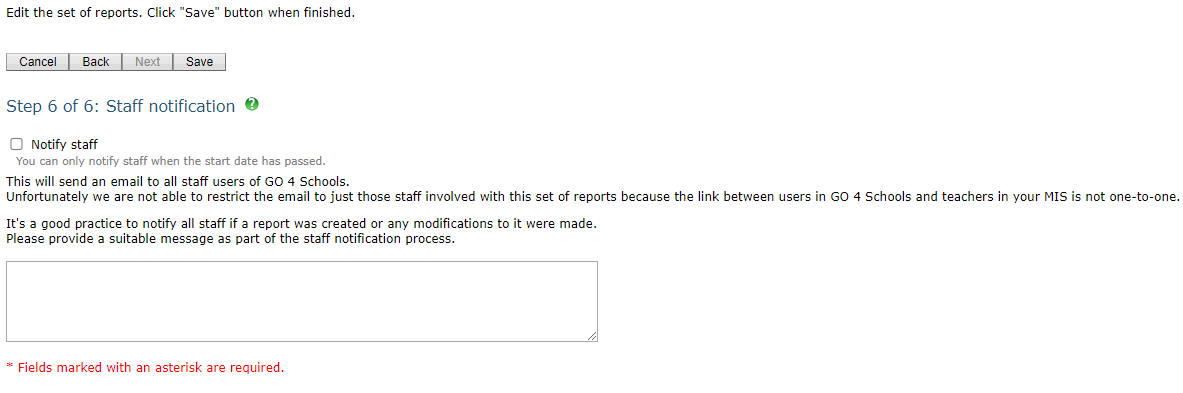
 The final step allows you to notify staff that a set of reports are available, as well as include a short message explaining the report. This notification goes to all members of staff that have a GO 4 Schools account.